What is a campaign?
A campaign is a regular, stand-alone newsletter that you can send to your selected subscribers. If you would like to set up an automated email sequence, check out the automations and workflows instead.
How to create a campaign
- From your Dashboard, click the “Create Campaign” button or Navigate to the Campaigns page and click New Campaign.
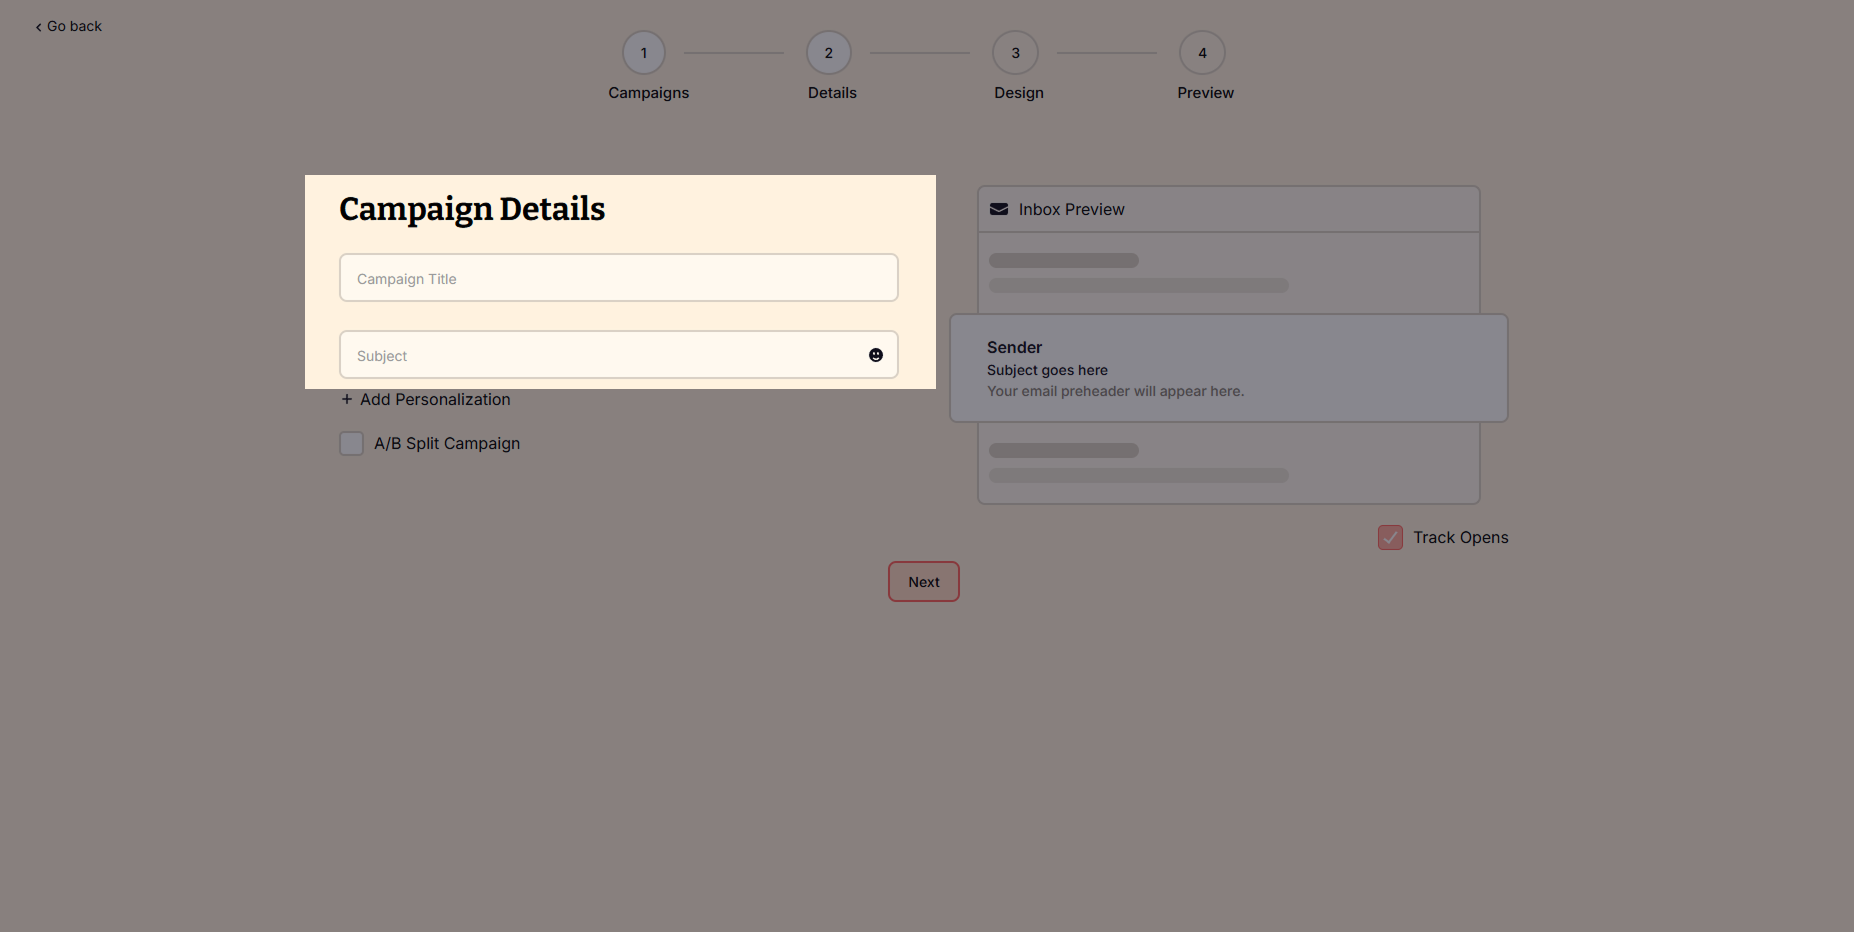
- Next you’ll find the Campaign details page. This is where you can apply the following settings:
- Campaign title – For internal use only. It will not show up to your subscribers.
- Subject – This text will be displayed in the Subject field of your recipient’s email client.
- Click on the A/B Split checkbox if you want to make your campaign an A/B Split type otherwise it will be sent as a regular campaign.
What are the types of campaigns
Regular Campaign – A regular campaign is the simplest and most direct type of email campaign. It allows you to send a single email to a targeted group of subscribers. This format is perfect for general announcements, company news, or broad promotions applicable to all recipients. Regular campaigns are quick to set up and can be enhanced with dynamic content to boost engagement.
A/B Split Campaign – An A/B split campaign lets you test two different versions of an email to determine which one performs best before sending the winning version to a larger audience. You can experiment with variables such as subject lines, content, images, or call-to-action buttons. This approach is a powerful way to refine your email strategy and enhance open rates and engagement.
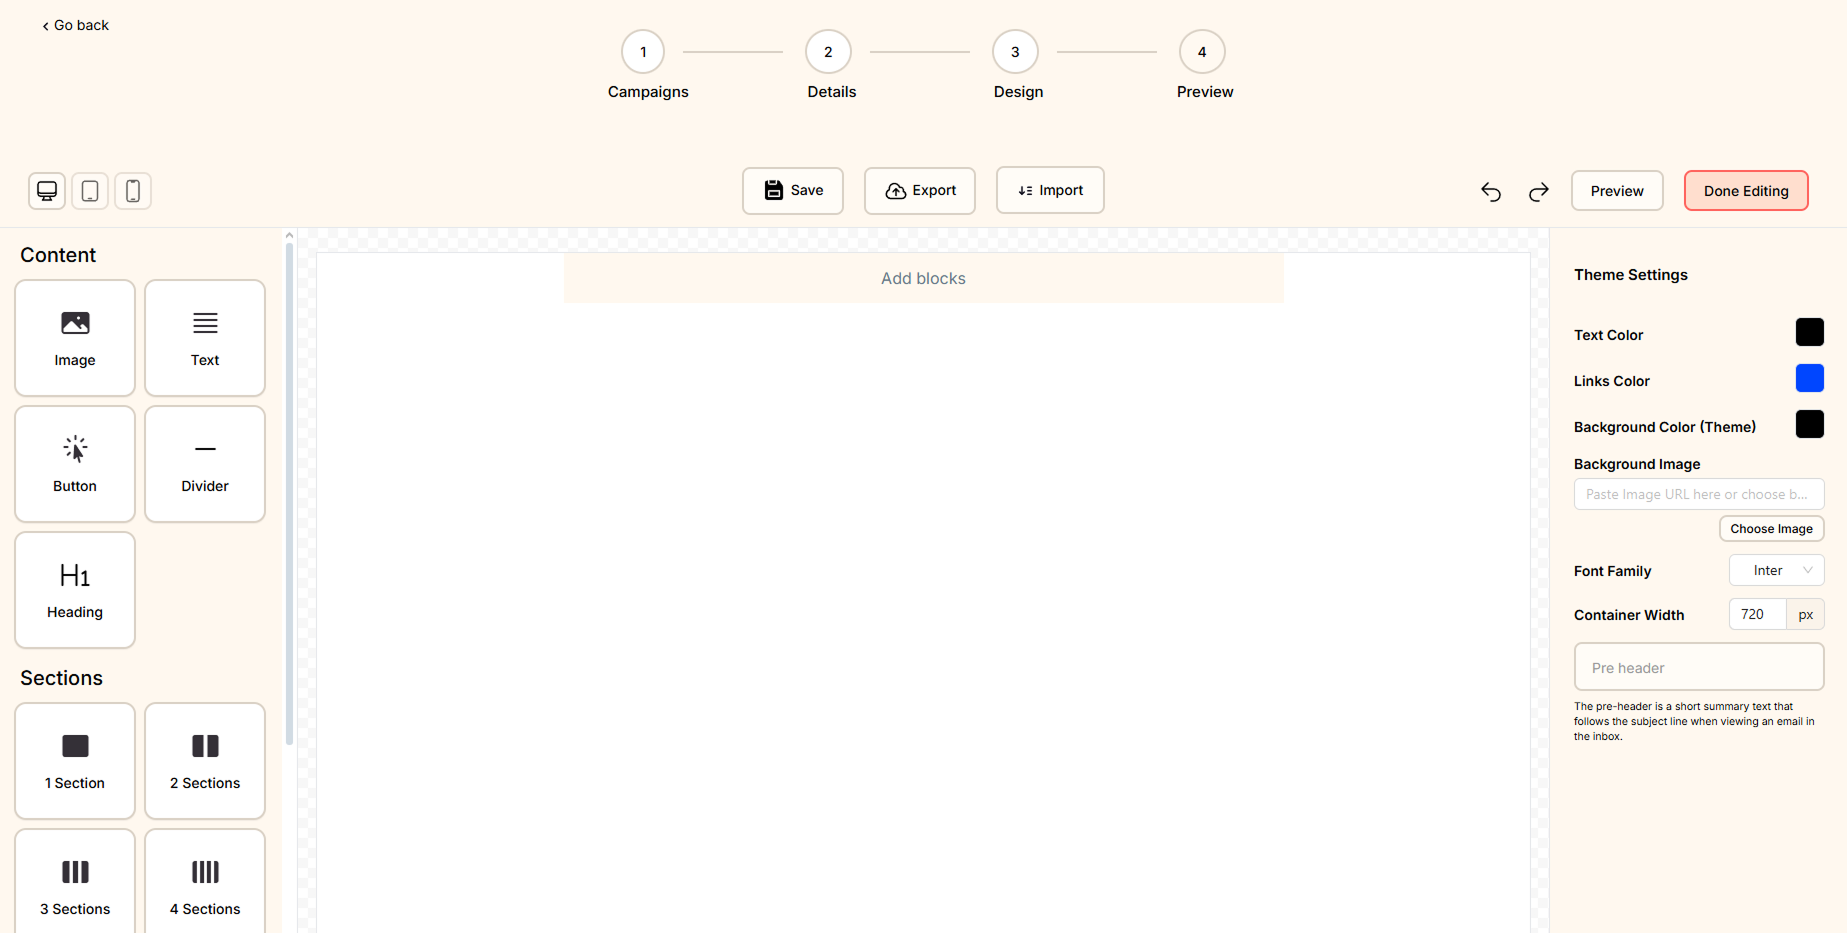
4. Click the Next button to choose a template from the Template Library or create your own from scratch Using the Drag-and-Drop Email Editor.
The Drag-and-Drop Editor allows you to design beautiful emails without coding.
Key Features:
- Pre-designed Templates – Choose from a collection of professional email designs.
- Content Blocks – Easily add text, images, buttons, and social media links.
- Branding Tools – Customize fonts, colors, and layouts to match your style.
- Mobile Preview – See how your email looks on different devices.
How to Use the Editor:
- Pick a Template or start from scratch.
- Drag elements into your email (text, images, buttons, dividers, etc.).
- Click any element to edit the content and style.
- Use the Preview Mode to check how your email will appear on desktop and mobile.
If you choose a template, you can fully customize it:
- Replace images with your own branding.
- Edit text to match your message.
- Change colors & fonts to reflect your brand identity.
- Add personalization (e.g., “Hi {{First Name}}” for a personal touch).
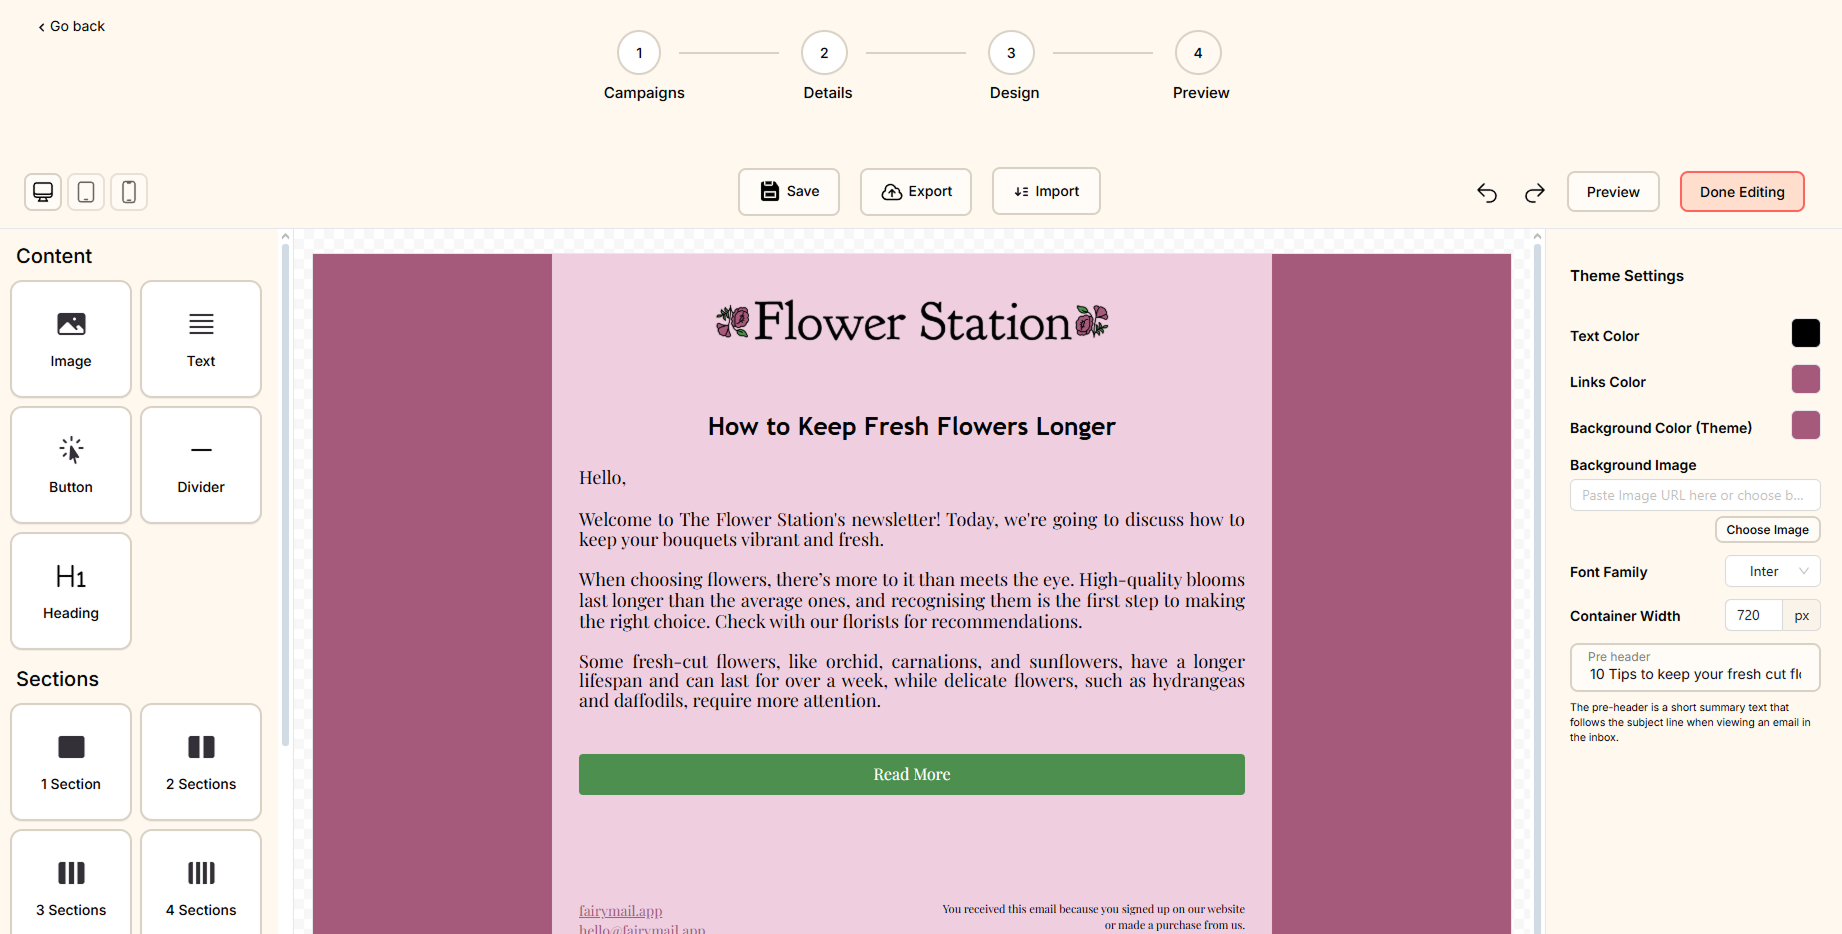
Once you finished editing your email, click on the Done Editing button.
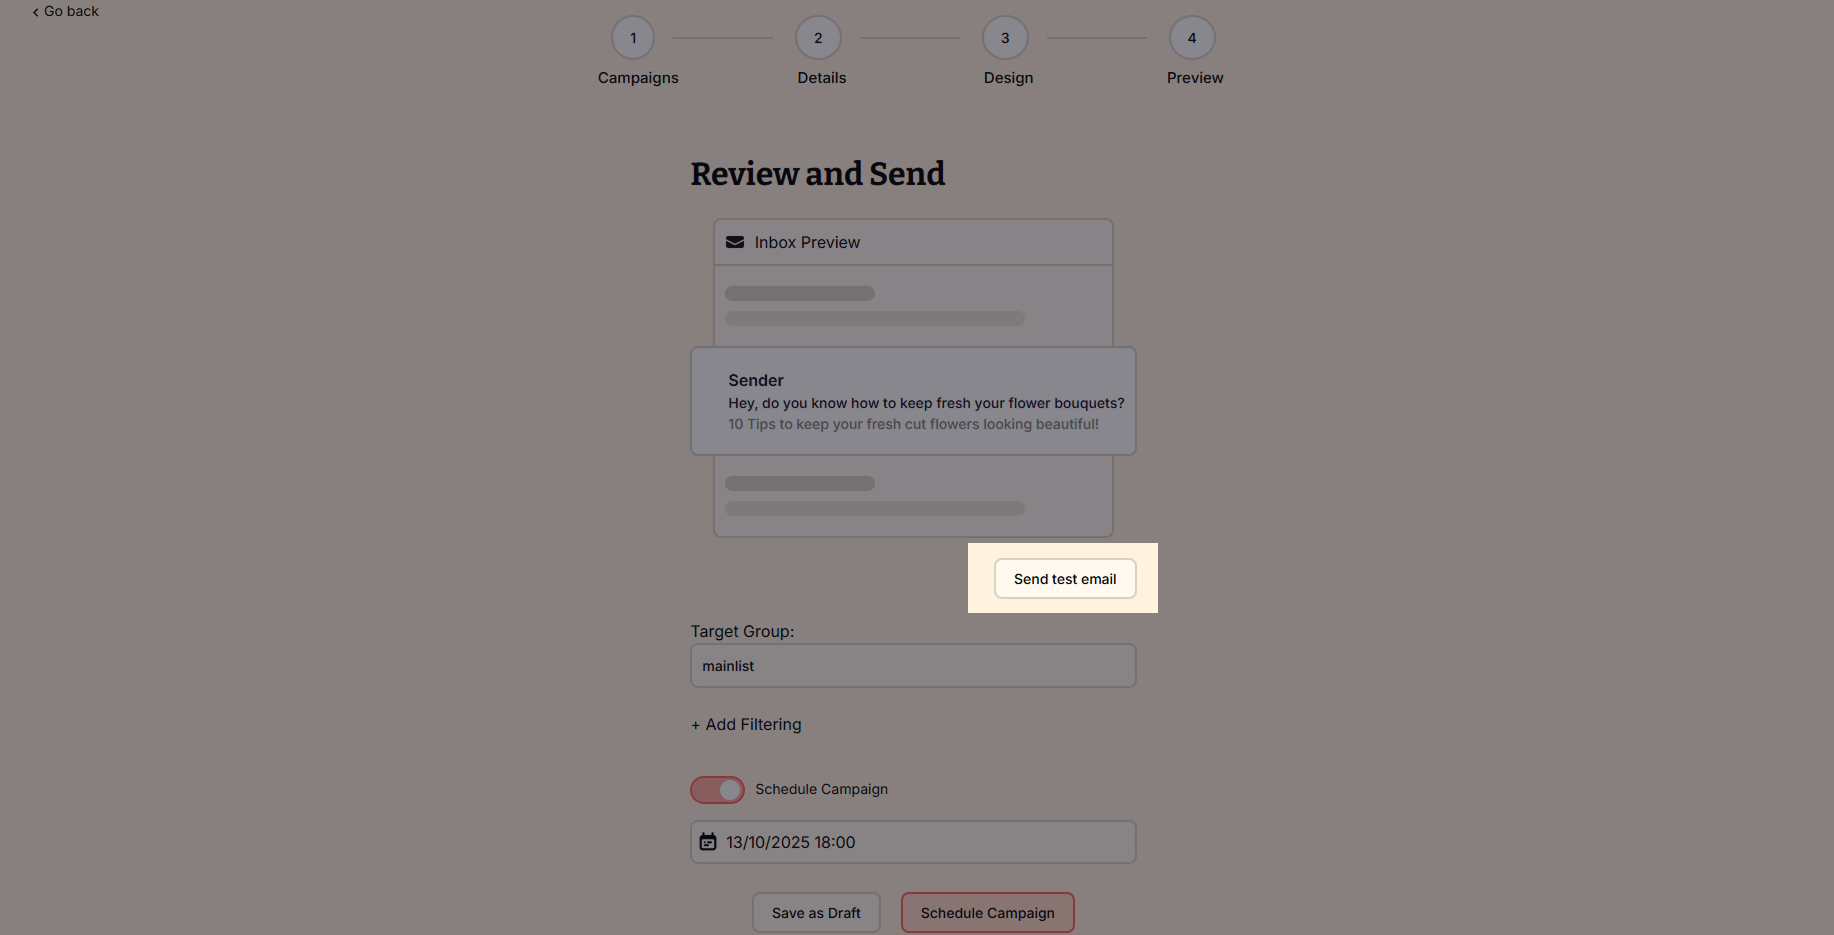
5. Click on Select Target group and select the one you want to send this campaign to.
6. When you reach the scheduling step, you have four options for sending your campaign:
- Send now – Immediately send your campaign
- Schedule for later – Choose a specific date and time for delivery.
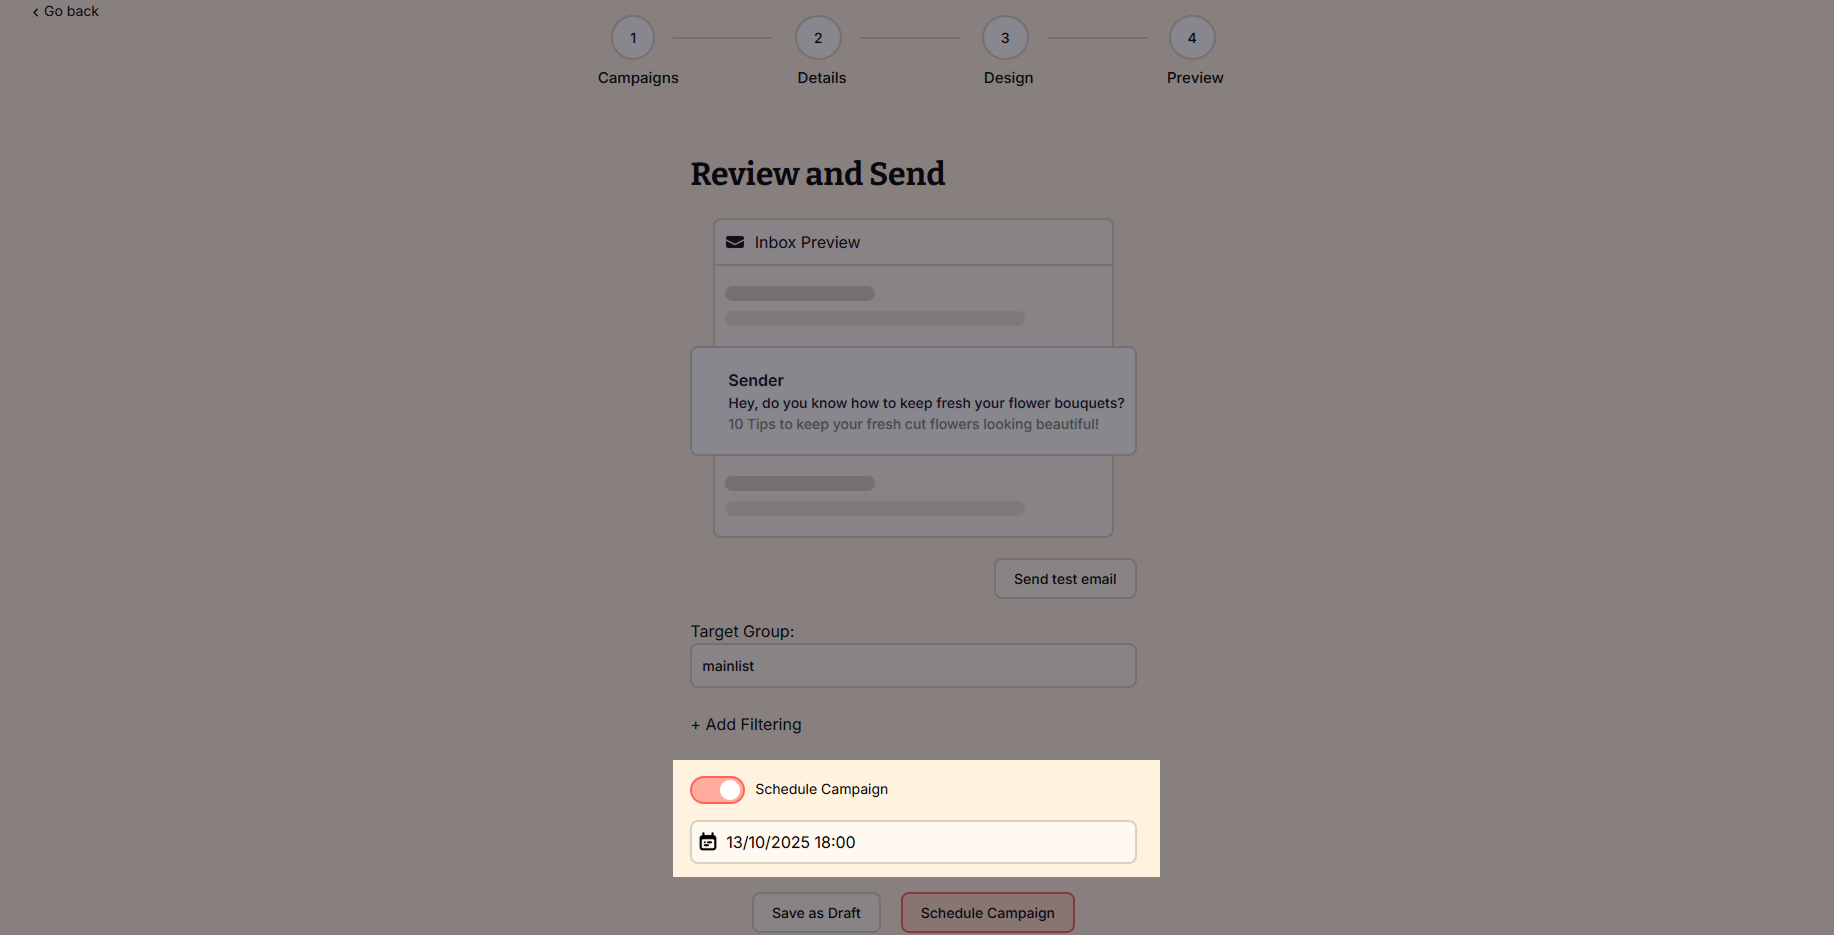
Tip: Before sending or scheduling your campaign, click on the Send Test Mail button to receive the email you’ve created in your inbox and check what your subscribers will receive!
How to cancel a sending campaign
If you wish to cancel your campaign:
- Navigate to your Outbox.
- Click the More button next to your sending campaign.
- Select Cancel sending.