After signing up and logging in, you’ll land on the FairyMail Dashboard, where you’ll see a step-by-step “Get Started” guide to help you set up your account. Follow these steps to complete your setup.
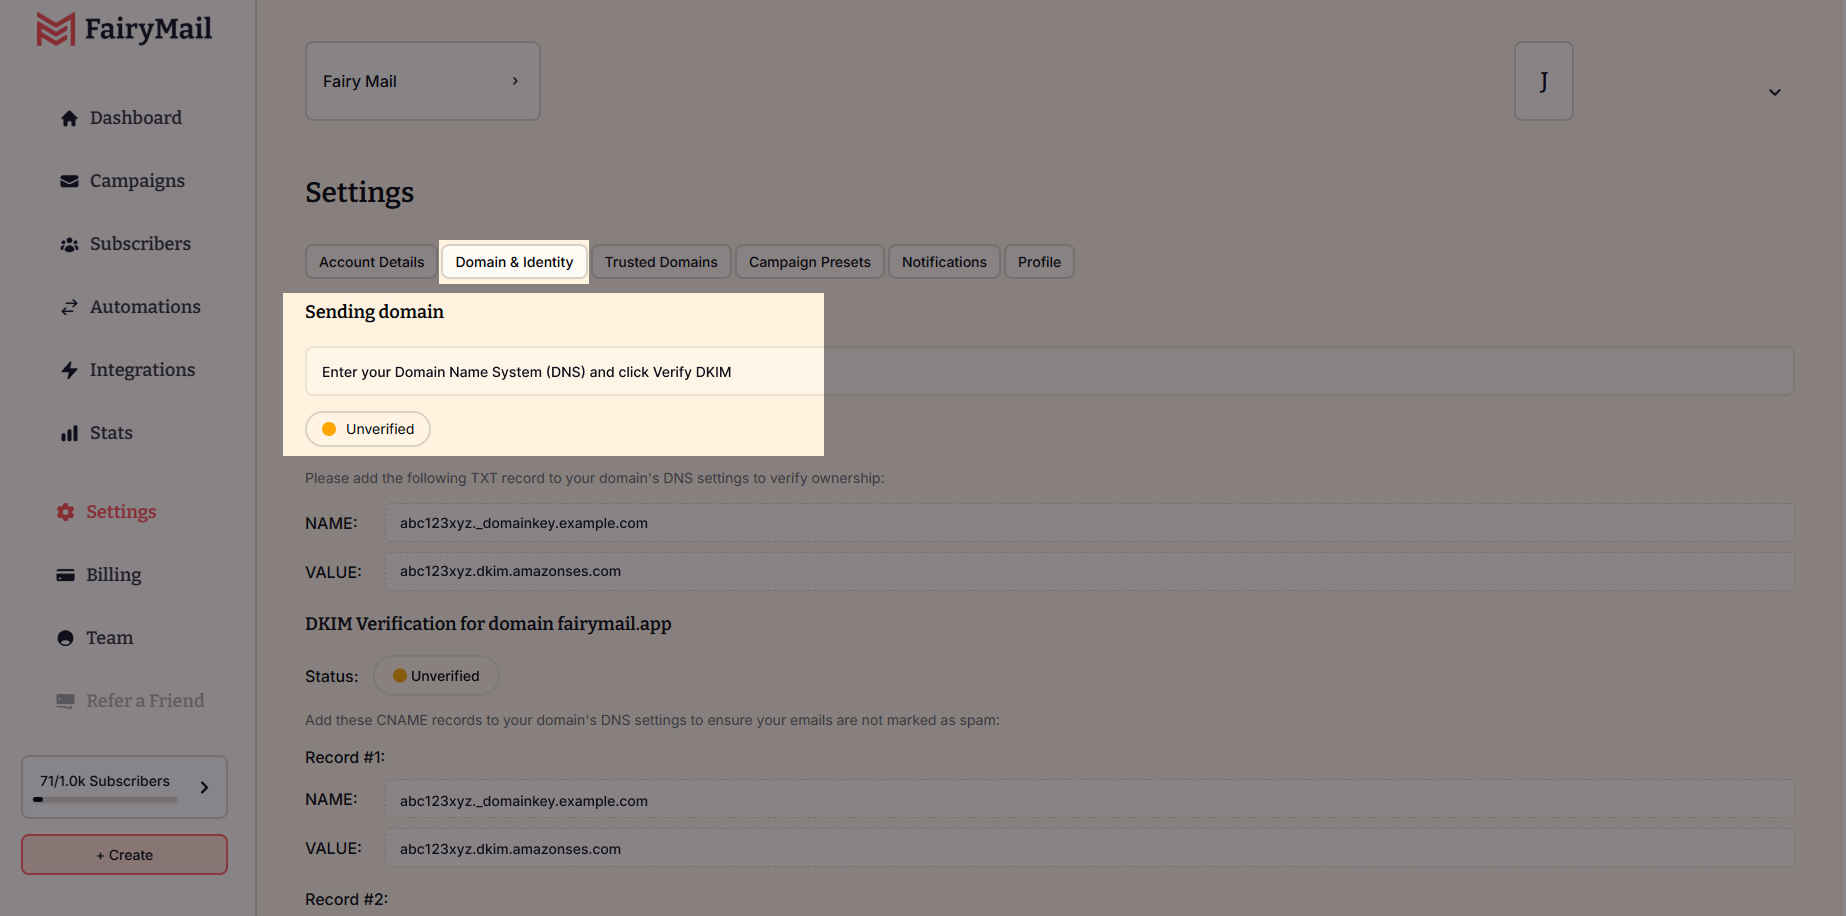
Step 1: Set Up a Sender Email or Domain
Before you can send emails, you need to verify a sender email or domain to ensure proper deliverability.
How to Add a Sender Email:
- Click the “Set Up Sender” buttonand it will guide you to the Domain & Identity settings.
- Follow the instructions and fill in the required fields.
- Once added, click Verify.

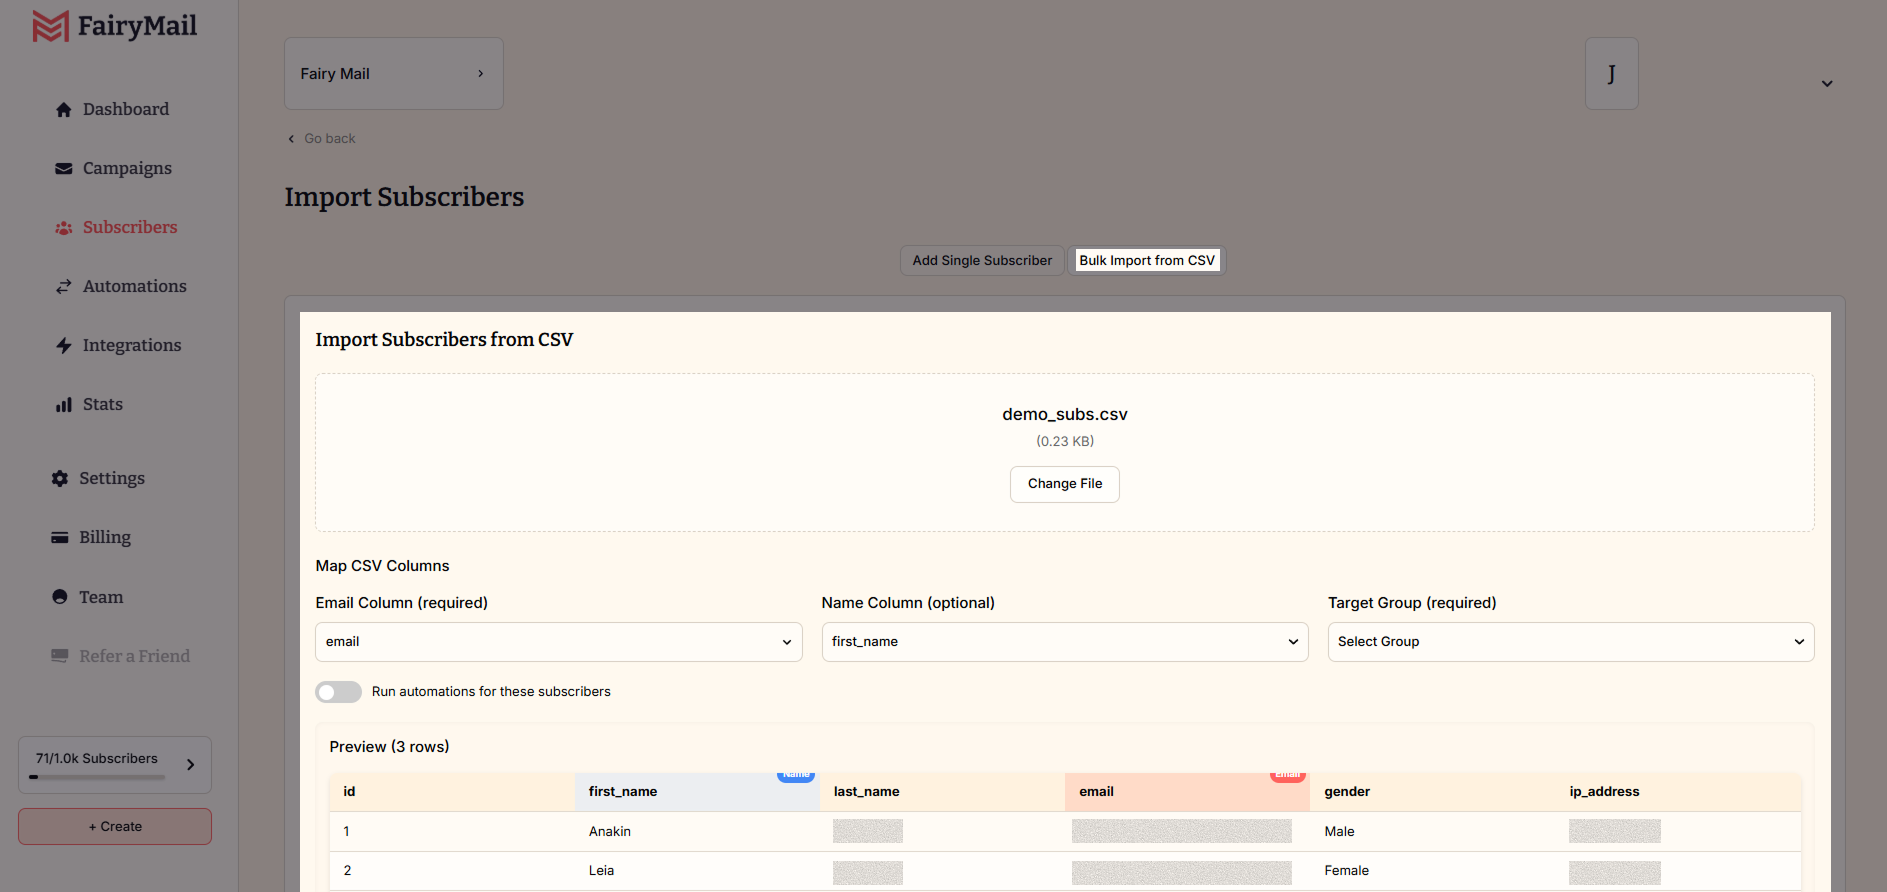
Step 2: Import Your Subscribers or Migrate from Mailchimp
To start sending emails, you’ll need an audience. You can either import your existing contacts or migrate them from another platform.
Option 1: Manually Add Subscribers
- Click “Add Subscribers”.
- Choose Upload CSV or manually enter contact details.
- Map your contact fields correctly (e.g., name, email, tags) and confirm the import.
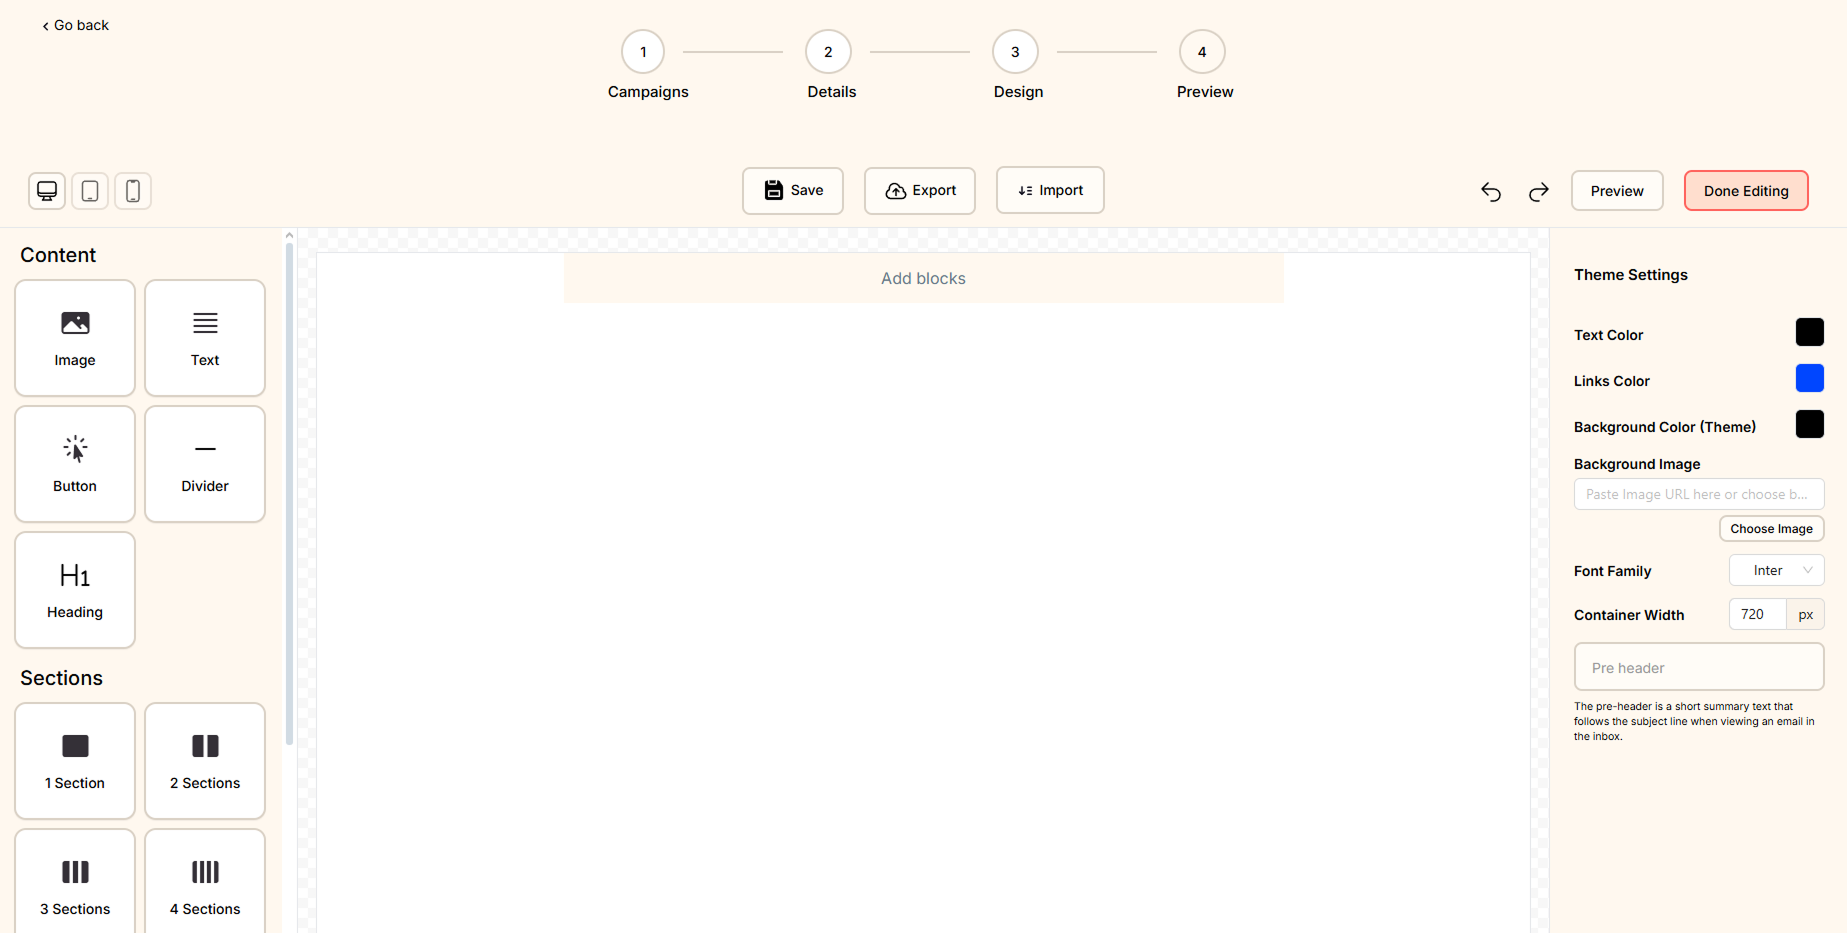
Step 3: Create Your First Email Campaign
Once your sender and contacts are set up, you can send your first campaign!
- Click “Create Campaign”.
- Add a campaign title and the subject.
- Select the type of campaign (Regular, A/B Split).
- Choose a template from the Template Library or create your own from scratch.
- Use the Drag-and-Drop Editor to design your email.
- Choose your recipients.
- Click Send Now or Schedule for Later.