Fairy Mail makes it easy to manage, organize, and grow your audience from one central place. The Subscribers section is where you can import new contacts, create groups and segments, view engagement stats, and keep your list clean and up to date.
Overview of the Subscribers Page
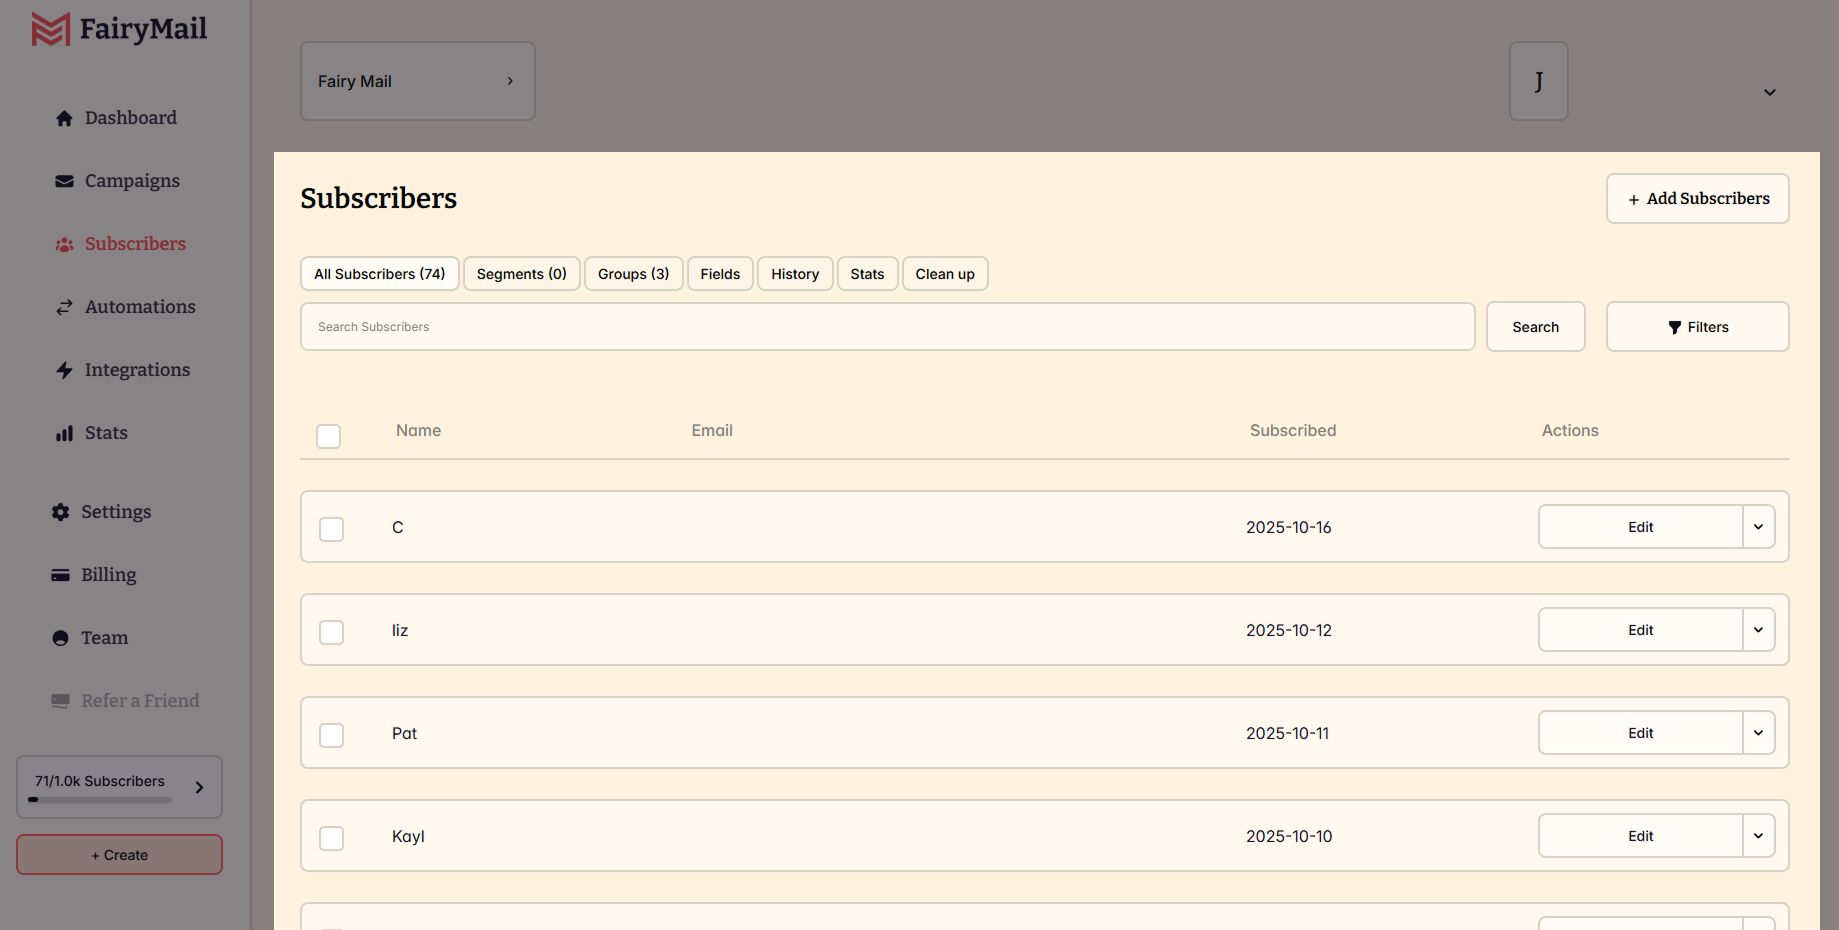
Inside the Subscribers section, you’ll find several tabs that help you organize and maintain your audience:
- All Subscribers – Your complete contact list
- Segments – Automatically updated groups based on filters
- Groups – Manually managed subscriber lists
- Fields – Custom and default data fields
- History – A log of changes and actions
- Stats – Insights into list growth and engagement
- Clean Up – Tools to remove bounced or inactive contacts
Adding and Importing Subscribers
Fairy Mail offers flexible ways to add subscribers to your list:
- Import a CSV file
- Manually add a single subscriber
Make sure all subscribers have permitted you to receive emails. Check our Anti-Spam Policy and Terms of Service for more.
Preparing Your File
If you’re importing from a CSV or Excel file:
- Ensure it’s encoded in UTF-8 if using non-English characters
- Make sure data is in a single sheet
- Avoid empty rows or extra spaces
How to Import Subscribers
- Go to the Subscribers page
- Click Add Subscribers
Import via CSV:
- Select the Import CSV tab
- Upload or drag your file into the box
- Click Import subscribers
Add a Single Subscriber:
- Choose the Add Single tab
- Fill in the fields (Email, Name, etc.)
- Add to one of your groups
- Click Add Subscriber
Import Settings
After uploading your list, you can:
- Choose one or more groups to assign subscribers
- Map your spreadsheet columns to fields in Fairy Mail
- Choose whether new subscribers should enter automations
Click Finish Import when done. A summary will show how many were imported successfully and any errors (e.g., duplicates or invalid emails).
Editing Subscriber Information
You can update any subscriber’s data at any time.
- Go to Subscribers
- Search for the email address
- Click to open their profile
- Scroll to Subscriber Details
- Click Edit, make your changes, and hit Save Changes
Using Groups
Groups let you organize subscribers manually for easier targeting.
Creating a Group
- Go to Subscribers > Groups
- Click New Group
- Enter a name and click Create
You can also create a new group during the import process by clicking Add a new group and naming it instantly.
Managing Groups
- Subscribers can belong to multiple groups
- To add subscribers: Select contacts > Actions > Add to Group
- To move subscribers: Add to new group > Remove from old group
Splitting and Merging Groups
- Split a group into equal parts from the Groups tab > More > Split
- Merge groups by selecting them and clicking Merge, then name the new group
Using Segments
Segments are dynamic lists based on specific conditions, like activity, location, or signup date.
Creating a Segment
- Go to All Subscribers
- Apply filters (e.g., Country is United States)
- Click Save as Segment
- Name and save the segment
Segments update automatically—if a subscriber no longer meets the criteria, they’ll be removed.
Segment Conditions
Conditions can be simple (“Country is…”), or combined using AND/OR logic:
- AND: Subscriber must meet all conditions
- OR: Subscriber must meet at least one
Using Segments in Campaigns
- Select a segment as your campaign audience
- Or exclude a segment to prevent sending to certain subscribers
Unsubscribed Subscribers
When someone unsubscribes, they are automatically removed from active lists and automations.
How to Manually Unsubscribe
- Search and open their profile
- Click Actions > Unsubscribe
You can also bulk unsubscribe multiple contacts using filters and Actions > Move to Unsubscribed.
Note: You can only re-activate a subscriber manually and one at a time—with their consent.
Custom Fields
Custom fields help you collect and use extra subscriber data beyond the defaults.
How to Create Custom Fields
- Go to Subscribers > Fields
- Click New Field
- Choose the name and type (text, number, or date)
Personalizing Emails with Custom Fields
Use field tags like {{$name}} to insert personalized content into your emails. In the editor, click the {x} Variable button to choose available fields.